Keeping your home clean doesn’t have to be a daunting, time-consuming task. With the right techniques, cleaning supplies, and checklist, you can deep clean your whole house in just a few hours. This comprehensive guide covers everything you need to know to get the job done efficiently.
From the bathroom floor room to room and surface to surface, we’ll explore simple but effective house-cleaning tools and tips that utilize items you probably already have at home. With some strategic planning and efficient execution of tasks, you’ll save time and energy – and have your living space fresh and tidy again.
So read on for expert tips on house cleaning, a printable deep cleaning checklist, and a deep-cleaned supplies list. We’ll cover exactly how to deep clean every room banish dust, dirt, and grime clean your house for good! Get ready to feel re-energized coming home to a sparkling clean house.
Right Supplies You’ll Need
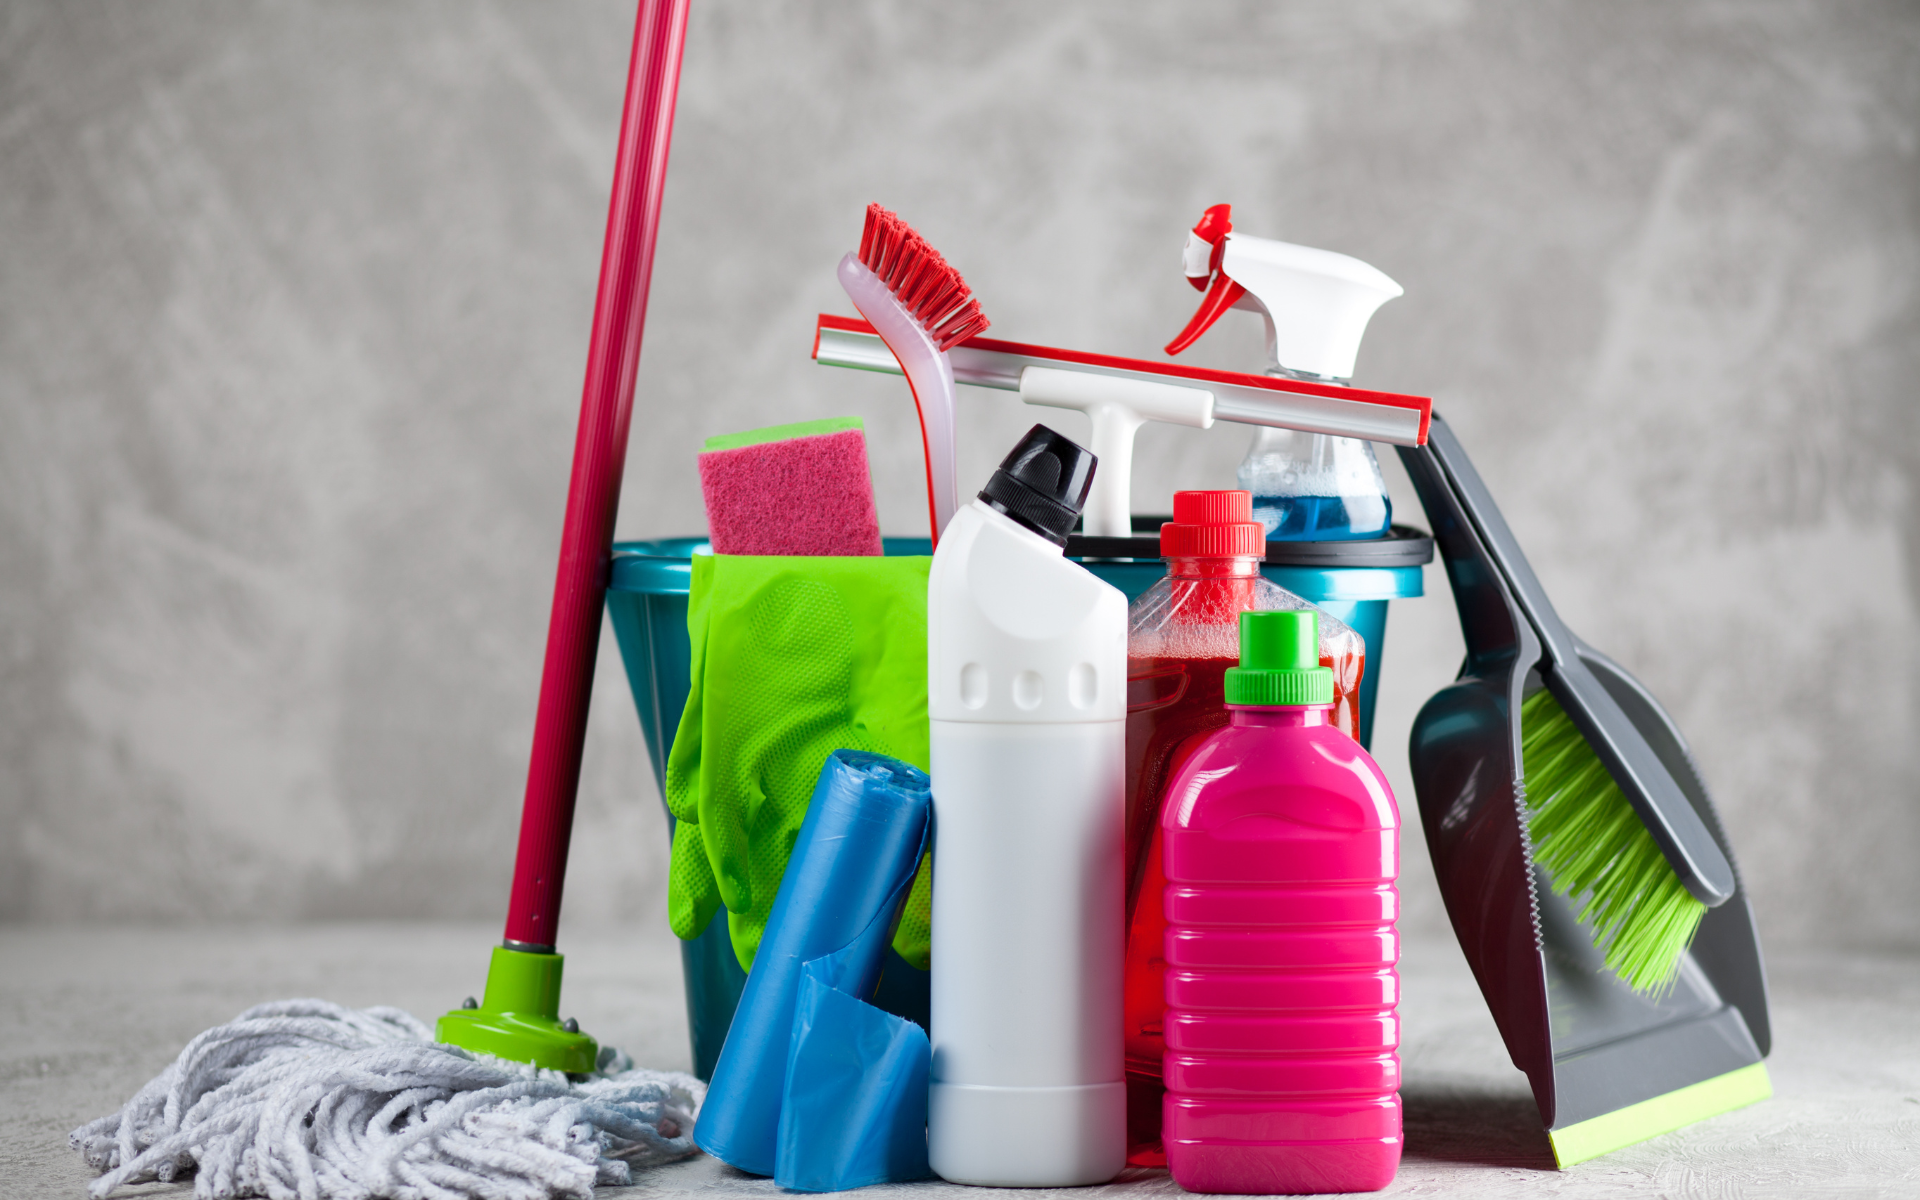
Before you begin your whole house deep cleaning, gather these essential deep-cleaning supplies:
- Microfiber cloths – soft cloths lift and trap dust easily
- Glass cleaner – formulated to leave a streak-free finish
- All-purpose cleaner or dish soap – cuts through grease and grime
- Baking soda – gently scrubs and deodorizes
- White vinegar – removes soapy and hard water stains
- Spray bottles – apply homemade cleaners to surfaces
- Microfiber Mop
- Dusting wand or duster with soft brush attachment – accesses hard-to-reach areas
- Paper towels
- Garbage bags
Room-by-Room Deep Cleaning Checklist
Print out this comprehensive checklist and mark tasks off one by one as you move efficiently from the same task from room to room quickly.
Living Room
Dust Surfaces
Wood furniture – desks, shelves, side tables
Picture frames
Light fixtures and lamps
Ceiling fans – use brush attachment to remove dust buildup
Electronics – TV screens, remotes, gaming consoles
Fabric Surfaces
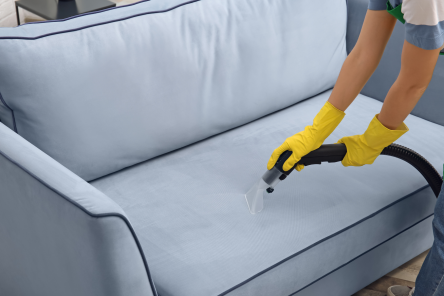
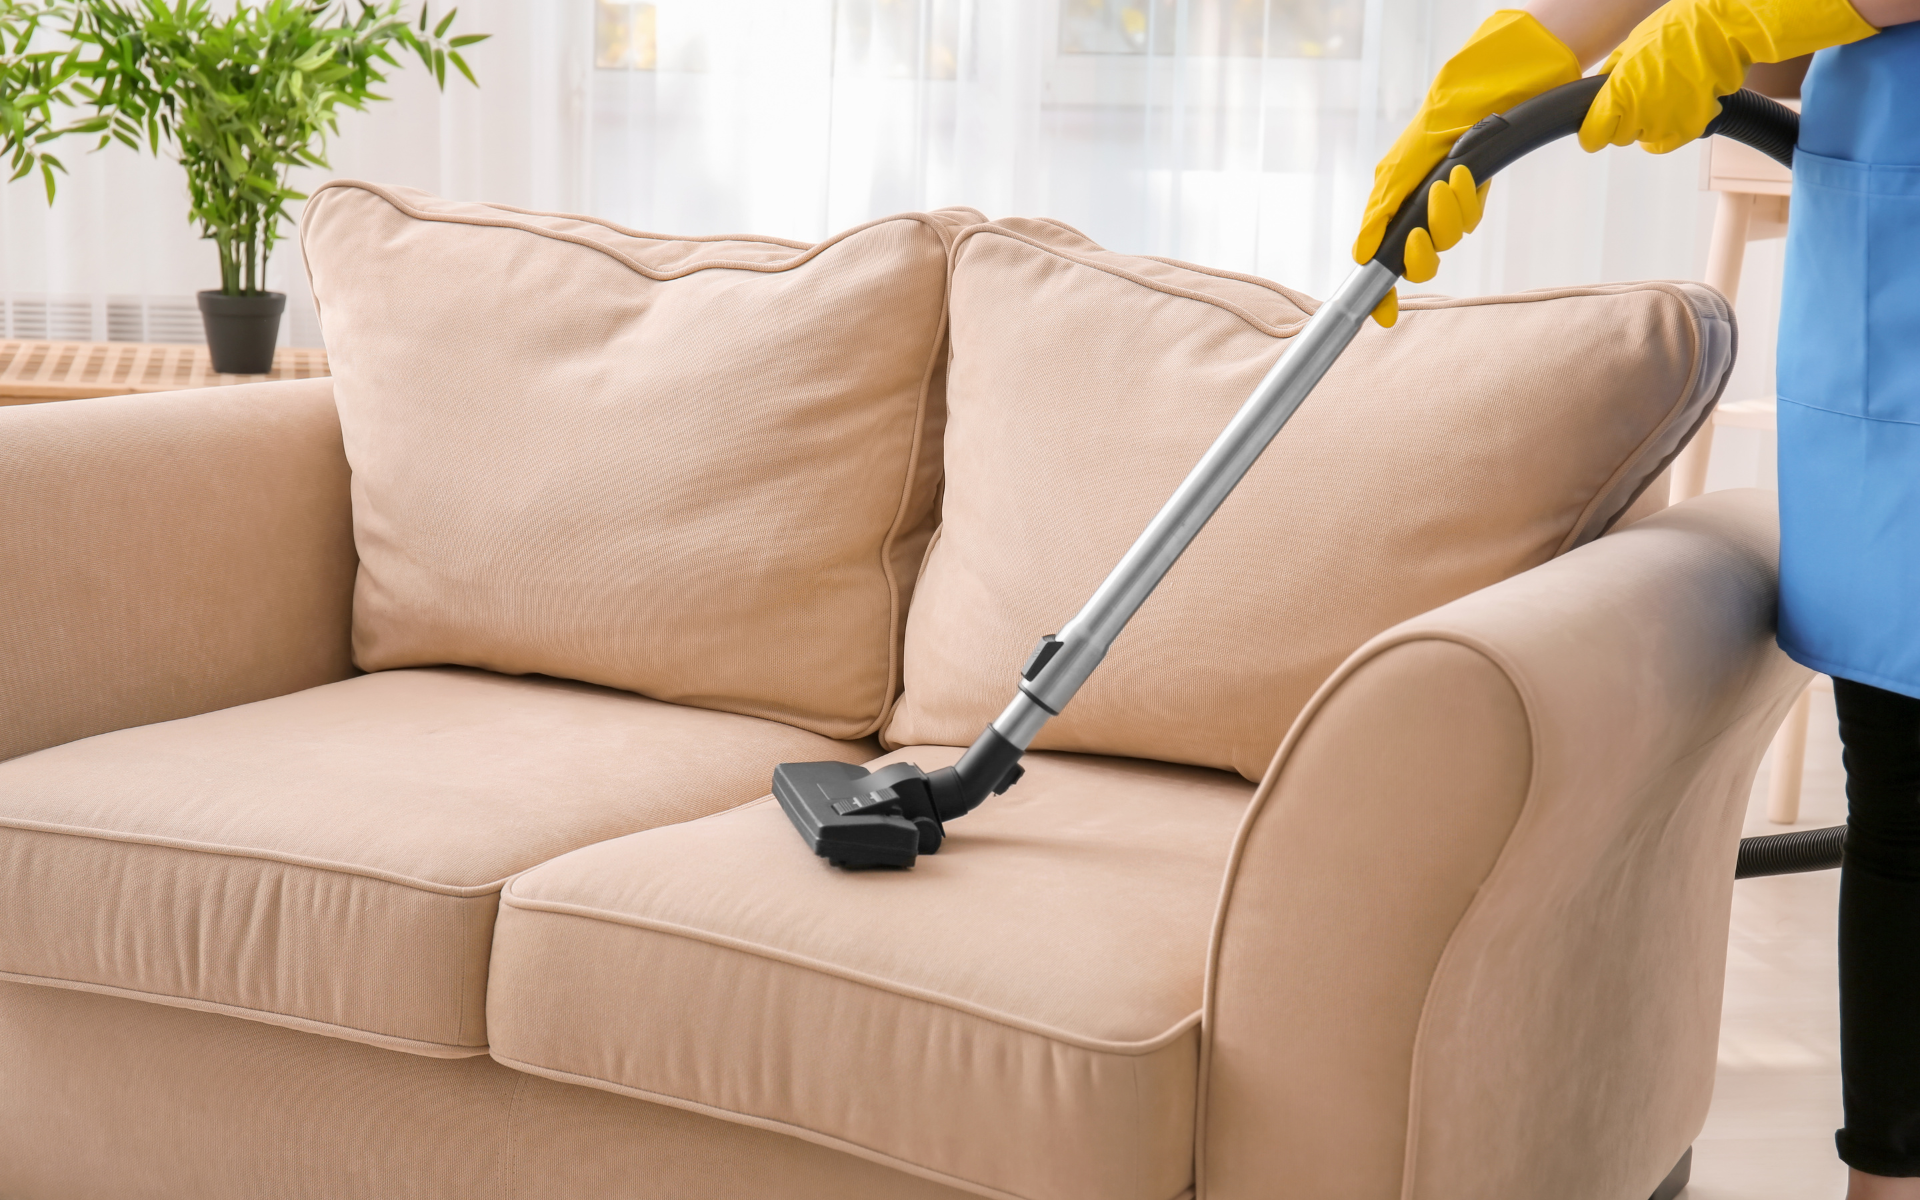
Upholstered furniture – vacuum cushions and crevices
Rugs – vacuum both sides to lift dirt from fibers
Curtains and drapes – take down and wash if needed, or simply hang and vacuum carefully
Other Surfaces
Wipe down light switches and doors knobs to remove grime buildup
Clean windows and window sills – allow glass cleaner to soak in before wiping clean
Mop hard floor surfaces – sweep first before mopping
Kitchen
Clear Counters
- Remove everything from kitchen counters and clean surfaces thoroughly
- Take items out of drawers and cabinets to access inside surfaces
- Consider donating or throwing away anything expired or unnecessary
Clean Surfaces
- Exterior of kitchen cabinets – wipe down with all-purpose cleaner using a microfiber cloth
- Interior of cabinets and drawers – use baking soda paste to scrub away spills or stains
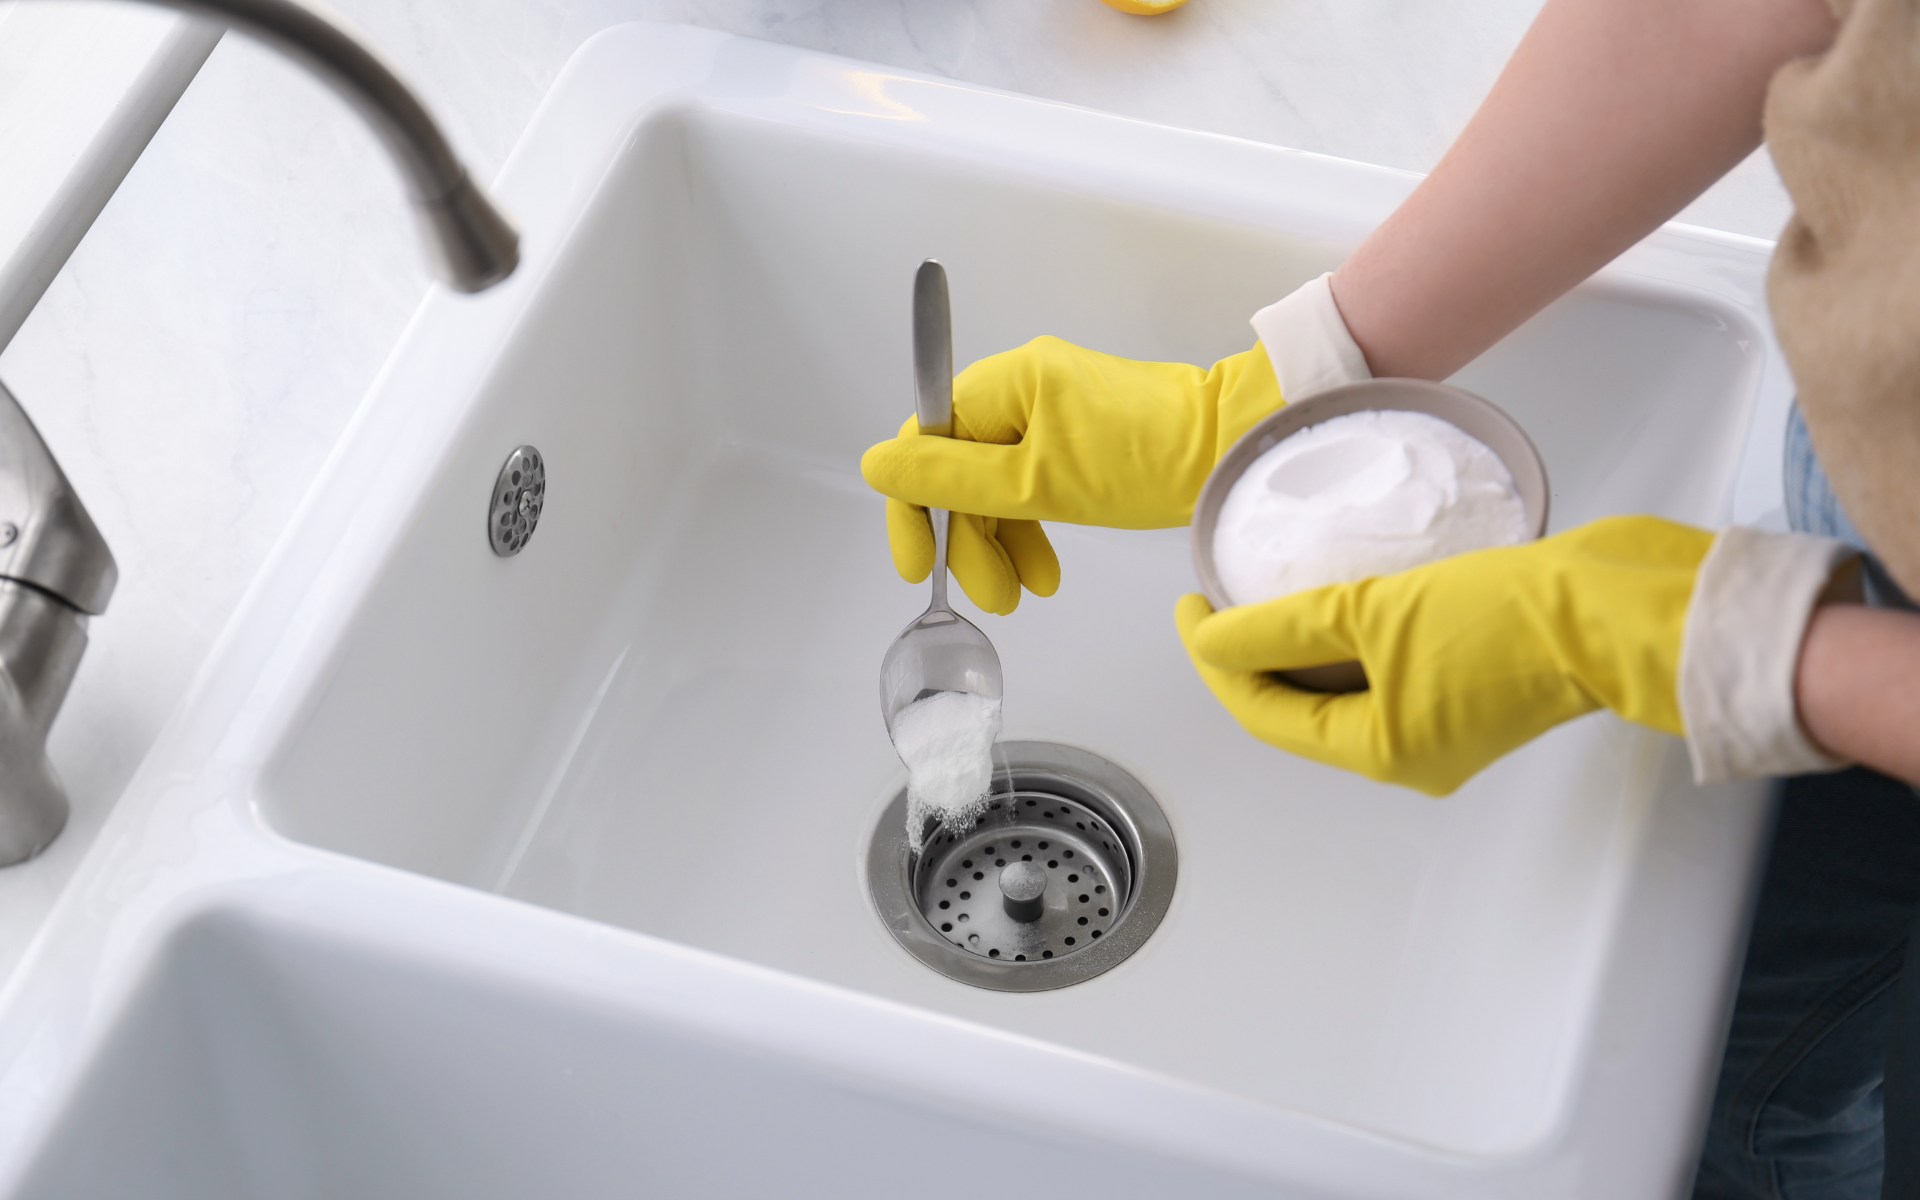
- Sink – remove built-up grime with baking soda; rinse and wipe faucets shiny
- Oven and stove – tackle baked-on grease; rinse and wipe exterior
- Small appliances – coffee maker, microwave, mixer; wipe down exterior
- Window treatments, doors, lighting fixtures
Flooring
- Sweep and mop tile, wood, or vinyl floors
- Shake out and vacuum rugs by the back door
Bathrooms
Sinks and Counters
Remove everything sitting out from counters and clean surfaces thoroughly
Scrub the sink basin with baking soda paste until stained areas are lifted
Polish faucets with soft cloth to restore shine
Shower and Tub
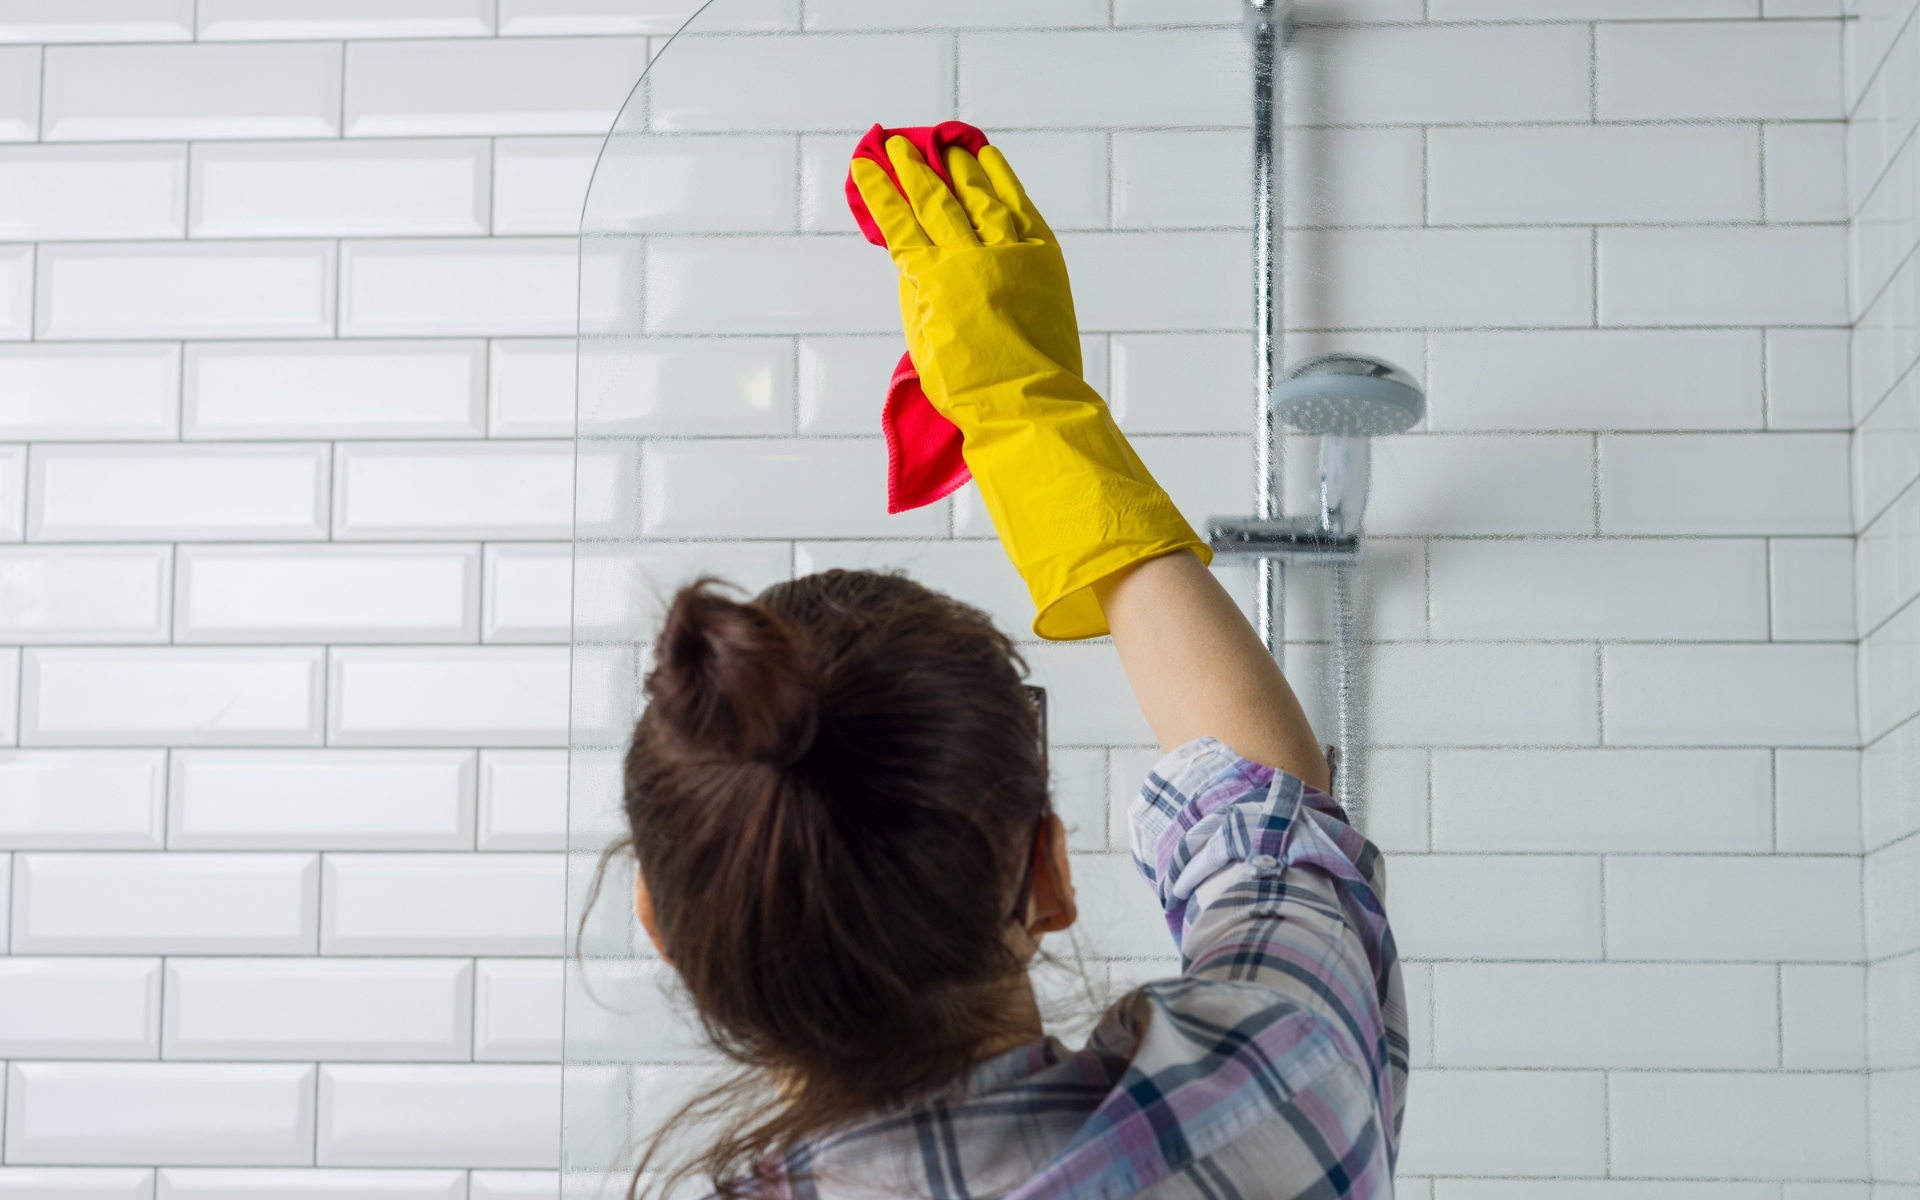
Spray down surfaces with diluted white vinegar or all-purpose cleaner solution
Allow to soak before wiping away soap scum and hard water stains
Use a brush attachment or toothbrush to detail tile grout
Toilet
Flush toilet to soak bowl
Pour in baking soda and white vinegar – let foam scrub the bowl
Scrub exterior toilet surfaces – handle, base, tank
Wipe down hard surfaces with disinfecting cleaner
Other Surfaces
Wipe down counters, mirrors, light fixtures
Sweep and mop floors thoroughly
Bedrooms
- Remove bedding and wash thoroughly
- Lift the mattress and vacuum underneath to remove dust mites
- Wipe down furniture surfaces – dressers, nightstands
- Dust ceiling fans, lamps, picture frames
- Clean windows, mirrors, light fixtures
- Sweep hard floors and vacuum carpeting
- Mop hard flooring
Other Rooms
Entryway
- Wipe down the front door exterior and screen door
- Clean entryway flooring – sweep and mop tile, shake out mats
- Dust furniture surfaces – console table, bench, shelving
Hallways
- Work top to bottom – walls, light fixtures, flooring
- Remove artwork and clean walls thoroughly
- Dust wall hangings before replacing
Garage
- Sweep out dirt, leaves, debris on concrete
- Clear surfaces and wipe down storage shelves
- Hose down interior walls and floors if needed
- Wash trash and recycling bins out
Cleaning the Garbage Disposal
The garbage disposal in your clean your house or kitchen sink does the dirty work of grinding up food scraps so they can easily flow down the drain. However, over time grease, grime, and bits of old food can build up and cause unwanted odors.
Here’s how to give it a deep clean:
Step-by-Step Instructions:
Unplug the garbage disposal before beginning and make sure to clear any large items stuck in the drain.
Pour 1⁄2 cup baking soda down the drain. Let sit for a few minutes.
Fill the sink about halfway with warm water. Add a squirt of dish soap.
Turn on the garbage disposal and let it run for 30 seconds with the water and dish soap mixture. This will help rinse away loosened gunk.
Fill a spray bottle with equal parts warm water and white vinegar. Continuously spray the vinegar solution down the drain while running the disposal for another 30 seconds. The acidity helps dissolve greasy buildup.
Use a toothbrush or small scrub brush to carefully clean the metal ridges inside the disposal drain opening.
Flush the drain with very hot water for a full minute. The high temperature helps sterilize and deodorize the garbage disposal.
Pour a baking soda and salt mixture (1⁄2 cup each) down the drain. Let sit for 5 minutes. Run the disposal to clear the drain. The abrasives scrub away stuck-on grime.
Finish by running lemon wedges through the disposal for a final fresh scent and rinse.
Repeat this thorough spring cleaning and routine every 3-6 months to keep odors at bay and your bins grinding efficiently for years to come. Be careful not to reach hands down into a running disposal!
Deep Clean Each Room Efficiently
Approach cleaning tasks in each room systematically, moving from top to bottom, and wiping surfaces or high to low areas. Finish cleaning one task fully before moving on. This workflow minimizes spreading dirt to already cleaned places.
Follow these cleaning tips below for an efficient rinse clean, streak-free clean:
Prepare cleaning solutions beforehand
Use microfiber cloths for most tasks – they pick up and cling to dirt easily
Allow solutions to sit and work before wiping away
Rinse surfaces after cleaning before allowing them to air dry
Work from top to bottom in each room
Finish cleaning one task fully before moving on
Expert Tips By Surface Material
Apply these specialized techniques to tackle any cleaning conundrum:
Glass
Allow glass cleaner to soak in before wiping in “S” motions with newspaper or microfiber cloth. Buff dry with a damp cloth lint-free cloth.
Tile Floors
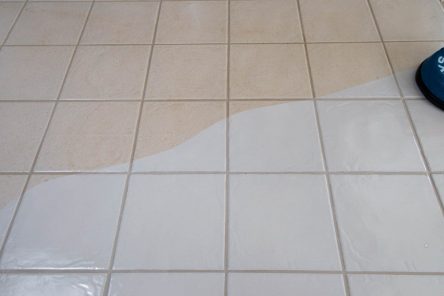
Mix 1 cup baking soda with just enough water to form a spreadable paste. Apply and let sit for 5 minutes before scrubbing and rinsing away soap scum and stains.
Granite
Remove stuck-on grime with a paste of baking soda and hot water only. Rinse and buff dry. Re-seal granite every 1-2 years.
Wood Furniture
Wipe with a microfiber cloth slightly dampened with distilled white vinegar. Buff with a dry microfiber cloth. Apply wood furniture polish every few months.
Stainless Steel Sinks
Remove mineral deposits with white vinegar and lemon juice soak. Rinse and wipe dry with a soft cloth. Apply stainless steel polish to maintain a glossy shine.
Windows
Coat glass with even application of glass cleaner or diluted vinegar solution. Allow to soak in before wiping clean with newspaper or microfiber cloth. Buff dry with a lint-free, damp microfiber cloth.
Oven
Sprinkle baking soda generously over the bottom of a cool oven. Spritz with water so baking soda sticks. Allow the paste to set overnight before wiping clean. No harsh fumes!
Shower Doors
Remove soap scum and hard water spots by spraying straight white vinegar and scrubbing with baking soda paste.
Wipe clean and rinse away residue. Squeegee to prevent water spots.
Carpet Stains
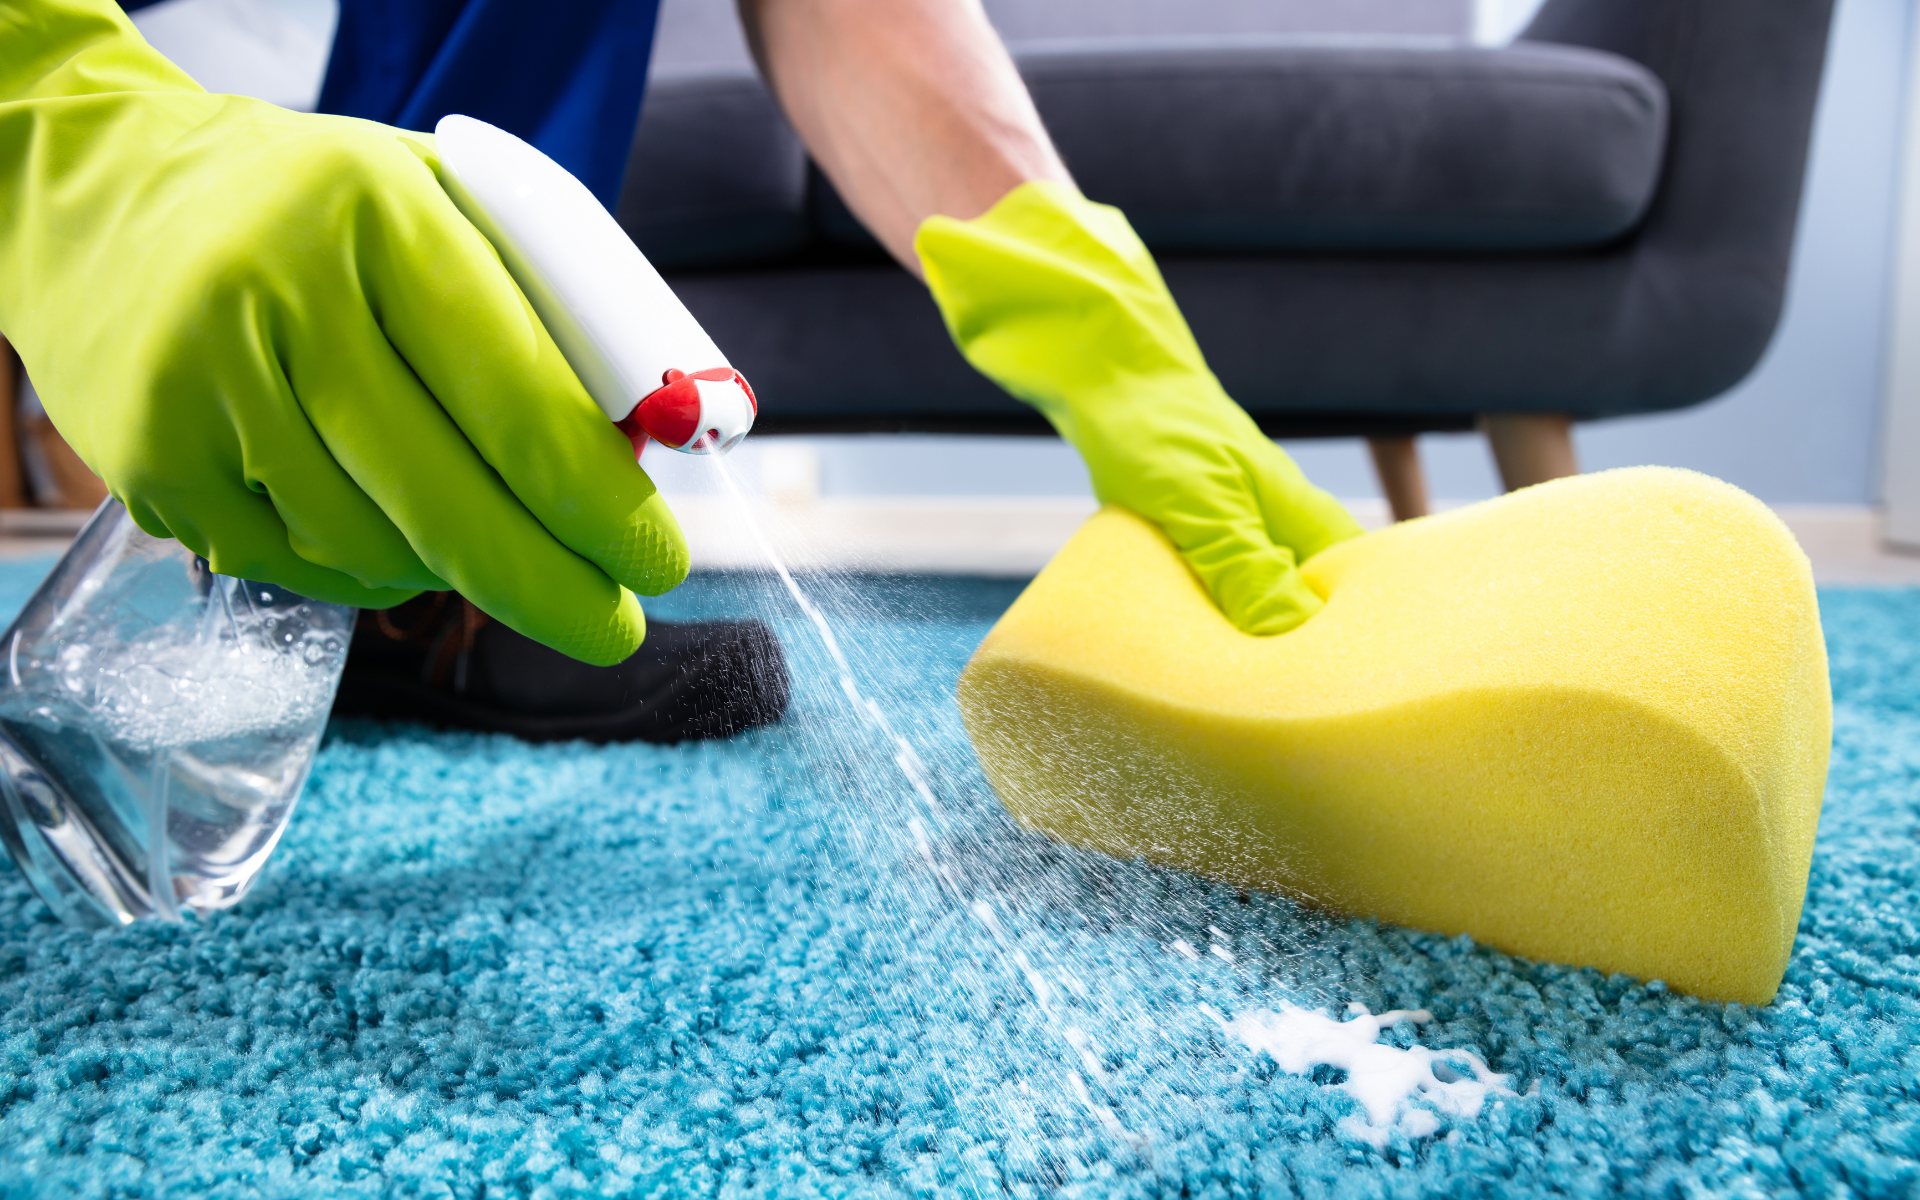
Blot up the liquid immediately with a clean towel. Mix dish soap with hydrogen peroxide and scrub into the stain. Allow to sit before rinsing the area thoroughly.
Blot dry with a clean cloth and allow to air out before vacuuming. The oxygen bubbles lift stains from carpet fibers!
Hardwood Floors
Mix 1/2 half a cup of distilled white vinegar per gallon of warm water. Damp mop the floor with the mixture to remove dulling soap residue and grime buildup.
Set Up a Speed Cleaning Session
Are you short on time or feeling too tired for a full deep clean? Focus on just one room or task. Set a timer for 20 or 30 minutes and see how much you can accomplish.
Target high-traffic areas first or tasks that really bug you when left undone.
With the right cleaning products and tools at the ready, you can make serious headway on bathroom floors in just half an hour.
Come back to the job when time allows. Maintaining surfaces with quick regular cleaning means less grime builds up over time.
Conclusion
With the right mix of techniques and cleaning products, deep cleaning your entire house is doable in a few short hours. Break big jobs down room-by-room and task-by-task. Work systematically from top to bottom with the help of your printable checklist.
Approach all cleaning tasks with efficiency in mind – prepare solutions ahead of time, use microfiber cloths for most cleaning jobs, and allow cleaners to work before wiping away. Set up speed cleaning sessions when you’re short on time. Maintain cleanliness with regular surface wipe-downs.
A clean, welcoming home provides comfort and well-being for both body and mind. So gather your supplies, put on some music, and get ready to channel your inner tidiness guru. With a little elbow grease and expertise, you’ll have every room sparkling in time for guests or just to relax and enjoy domestic bliss.


