Is the floor space in your garage overflowing with tools, sports equipment, boxes of who-knows-what, and years of accumulated dirt? For many homeowners, the garage becomes a neglected dumping ground that gets progressively worse over time. Reclaim your garage space and make it functional again with this comprehensive garage cleaning checklist.
Why It’s Important to Clean Your Garage
According to The Home Depot, regular cleaning is important for garage health and safety. Letting your garage become too cluttered can lead to a variety of problems:
You can’t park your vehicles inside, exposing them to weather and theft.
Tools and seasonal items get buried, making it hard to find what you need when you need them.
Pests like mice and insects can thrive in dark, dirty spaces and make their way into your home.
Excess clutter is a fire hazard since it makes it difficult to exit quickly.
Mold and mildew can grow in damp, dirty corners and contaminate items.
Oil drips, chemicals, and other liquids pose a safety hazard if not cleaned up.
Overwhelming disorder leads to frustration every time you enter your garage.
By thoroughly cleaning and organizing your garage, you’ll reclaim valuable space for parking vehicles and accessing tools, equipment, and supplies. Well, you can hire cleaning services to help you clean your garage, but if you want to do it yourself, follow this detailed garage cleaning checklist to get your garage back in shape.
Garage Cleaning Supplies You’ll Need
Arm yourself with the right cleaning tools and supplies:
Garbage bags – heavy-duty for tossing junk
Cleaning rags – old T-shirts or microfiber cloths
Broom and dustpan – for heavy-duty sweeping
Mop and bucket – for washing floors
All-purpose cleaner – for walls, doors, windows
Degreaser like Simple Green – for cleaning floors and garage doors
Glass cleaner – for windows and mirrors
Dust mask – for protecting your lungs
Work gloves – for handling chemicals and cleaning rough surfaces
Step ladder – for reaching walls and ceilings
Optional extras:
Pressure washer – for deep cleaning exterior surfaces
Vacuum cleaner – for cleaning floor mats and corners
Storage containers – for holding organized items
Garage storage systems – wall panels, overhead racks
Labels – for identifying bins
Step-By-Step Garage Cleaning Instructions
Follow these steps to thoroughly transform your messy garage into a clean, organized space:
1. Remove Everything from the Garage
Clearing out the entire garage gives you a blank slate to work from. Take everything out – tools, equipment, boxes, household items, lawn equipment, etc.
As you remove items, sort them into keep, sell/donate, or trash piles:
Keep pile – for items you use regularly or seasonal decorations
Sell/Donate pile – for gently used items your family has outgrown or no longer needs
Trash pile – for broken, damaged, or unneeded items ready for the dump
If you come across any hazardous chemicals, batteries, oils, or cleaning products, set those aside for proper disposal.
Clearing the room will allow you to clean every inch of the garage floors, walls, and ceilings. It also helps you see what you have so you can organize more efficiently.
2. Sweep the Floors and Remove Cobwebs
Use a broom to sweep all loose debris and dirt from the now-empty garage floor. Make sure to sweep under steps, shelving, and work benches.
Also use the broom to knock down all cobwebs from the walls, rafters, and ceilings. Cobwebs cling to dirt and dust, so removing them helps reduce lingering lint and pet hair.
Sweep all the dirt and debris into a pile, then collect with a dustpan and trash bag.
3. Hose Down the Floor
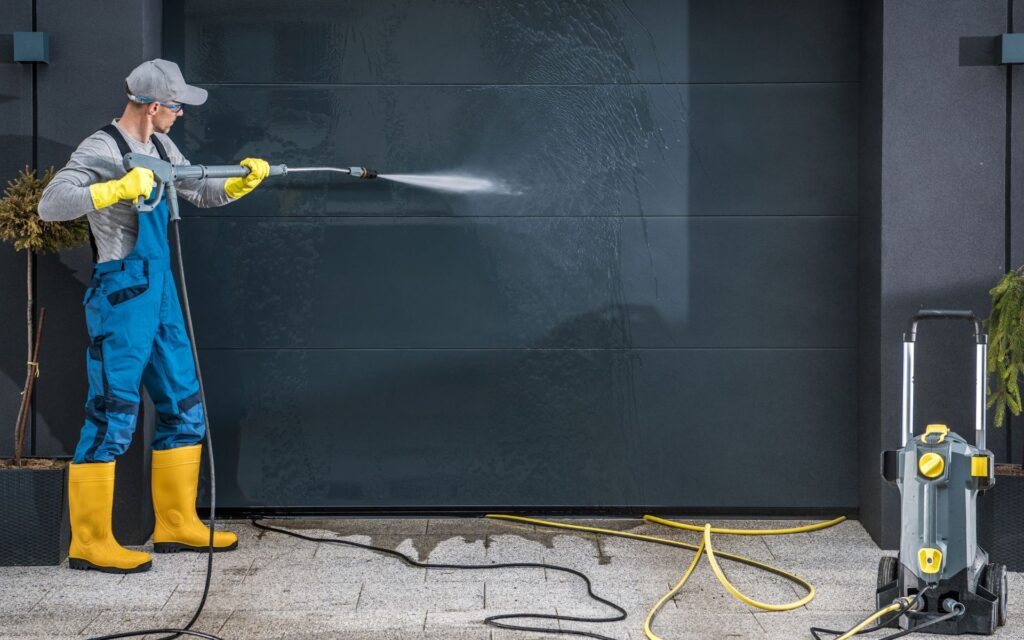
For a deeper clean, use a garden hose or pressure washer to spray down the concrete floor. Letting the water run across the surface helps displace years of caked-on dirt, oil drippings, and grime.
If using a pressure washer, start at the back corner and work your way out the garage door to avoid getting trapped in a wet corner. Wear rubber boots for this messy but satisfying step.
Let the floor fully dry before moving on. A wet floor is slippery and won’t absorb new dirt easily.
4. Clean the Walls, Doors and Ceiling
With the floor clean, it’s time to tackle the walls, garage door, windows, and ceiling. Use an all-purpose cleaner diluted with water and rags to wipe down all surfaces.
Remove dirt, cobwebs, and any vehicle exhaust soot built up on the walls and ceiling. Carefully wipe down attached shelving, work benches, and storage lofts as well.
Check for nails, hooks, or wall anchors left behind by removed items and pull those out. Patch small holes in drywall if needed with spackle.
Clean the garage door inside and out. Use a degreaser or diluted Simple Green to cut through layers of accumulated grime.
Don’t forget to clean windows, screens, windowsills, and window frames too. natural light helps keep your garage cheerful.
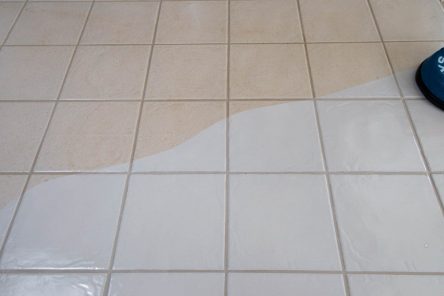
5. Scrub the Floor
Now that the walls floor space and ceiling are clean, sweep the floor again. Then use a stiff push broom and concentrated degreaser to scrub oil stains.
For serious grime, a pressure washer or rental floor scrubber machine works wonders to remove years of ground-in muck. But exercise caution not to spray siding or strip paint.
Rinse thoroughly and squeeze water toward the garage door opening. Allow the floor to dry completely before moving on.
6. Reorganize Items Back into the Garage
Now comes the fun part – returning items to your clean garage in an organized way. Think about how you use your garage space. Create designated zones for different needs:
Parking zone – Keep this area completely clear for pulling in vehicles.
Workbench zone – Have tools and supplies handy by your workspace.
Seasonal storage zone – Shelve or stack infrequently used holiday decorations and camping gear.
Sports equipment zone – Use racks, hooks, and bins to organize balls, bats, sticks, pads, etc.
Gardening zone – Keep shovels, gloves, and other lawn tools separate from automotive tools.
Take time to properly place items in the appropriate areas like items should be together. Frequently used tools should be readily accessible. Little-used items can go in higher cabinets or shelves.
7. Add Storage Solutions as Needed
Look for more storage ideas and ways to better utilize vertical wall space with shelves, cabinets with doors, pegboards, and Slatwall panels. These garage storage systems help get items up and out of the way.
Use freestanding shelving units to gain a storage boost without mounting to walls. Plastic bins, cardboard boxes, and storage containers corral smaller items while keeping them mobile.
Hooks and racks allow you to hang often-used tools like shovels and brooms for quick access. Mounting cabinets provide concealed storage for chemicals, paints, and cleaners.
Seek out deals on garage organizational products at home improvement stores, especially at the end of the season. Installing new storage units is motivating.
8. Label Storage Bins
Use permanent markers or printed labels to identify what’s kept inside clear plastic storage bins and containers. This makes it fast and easy for everyone to put things back where they belong after use.
Group like items together – sporting equipment, gardening supplies, tools, automotive care products, holiday decorations, etc. Keeping similar items together makes sense spatially when you need to retrieve something later.
9. Sweep or Mop the Floor
With your newly cleaned garage and organized garage now set up, do a final sweep or mop of the floor. This gives you a fresh start with a cleanly swept foundation.
Mop up any footprints, drips, or dust that accumulated during the cleaning and organizing process. The entire floor itself should now stay cleaner longer with a place for everything.
Tips for Maintaining a Clutter-Free, Organized Garage
Follow these tips for keeping your freshly tidied garage neat long-term:
Assign a “home” for every item – hooks for ladders, a shelf for paint cans, a cabinet for chemicals, a bin for soccer balls, etc. Make sure everything has a designated storage spot.
Never set items down randomly – they’ll just accumulate into a pile. Take a minute to return items to their proper home.
Throw away trash immediately before it builds up again. Keep a can by the garage door.
Park vehicles inside when possible to prevent weather damage and theft.
Keep high-traffic walkways and the area near workbenches clutter-free.
Use wall space for hanging often used tools like brooms and shovels.
Add shelving and cabinets to create storage zones for overflow items.
Regularly sweep or hose down the garage floor to prevent dirt buildup.
Properly label and securely store hazardous chemicals and flammable liquids.
Periodically check for and dispose of expired chemicals, paints, oils, and cleaners safely.
Hold an annual yard sale or donation day to purge unused household goods.
Staying on top of messy garages takes diligence, but having an orderly space makes it easier. Just tackle one problem zone at a time. Maintain the system by putting items away promptly after use.
Customize Your Checklist by Area
While the overall process is the same, you may want to adapt your cleaning checklist based on problem spots in your unique garage. Here are zone-specific tasks to include in thorough cleaning up:
Garage Floor:
Remove oil drips and tire marks using a degreaser
Pressure wash concrete floors
Clean drains and catch basins
Look for cracks or damage in need of repair
Garage Walls:
Wipe down walls to remove dust, dirt and cobwebs
Remove leftover nails and anchors
Patch holes in drywall
Paint if walls are looking worn out or stained
Garage Door:
Clean garage door tracks and lubricate rollers
Inspect weatherstripping and replace it if needed
Test automatic garage door opener and safety sensors
Adjust spring tension as needed
Garage Ceiling:
Remove cobwebs throughout rafters
Dust light fixtures
Check for leaks or water stains
Replace burned-out bulbs
Garage Windows:
Wash interior and exterior glass
Clean window sills and frames
Check that latches and locks work properly
Lubricate stuck windows
Caulk or seal any leaky window frames
Focusing on specific trouble spots for a few minutes during your routine cleaning makes a difference over time.
Maintain a Clean, Organized Garage
Regularly following this comprehensive garage cleaning checklist will keep your car repaired and your newfound order from deteriorating again.
Stay motivated by breaking bigger tasks into quick weekly and monthly to-do’s:
Weekly:
Sweep floors
Put away tools/gear after use
Take out trash
Check for safety issues
Monthly:
Hose down floor
Wipe down tools and equipment
Clean windows
Check for expired chemicals
Doing a bit regularly prevents big messes. Tackling an annual deep clean each spring keeps your garage organized and refreshed.
A clean garage promotes better organization by eliminating chaos and disorder. Items have designated homes rather than lying in random piles. By purging clutter and maintaining an orderly system for garage items, you’ll get your garage space back.
Bottomline
Cleaning out years of accumulated junk in your garage can feel like an impossible task. But by following the right step-by-step garage cleaning checklist, you can systematically transform the space.
Start by removing everything and giving all surfaces a thorough scrub down. As you return items, think about logical storage zones based on usage patterns. Maintain garage organization, by promptly putting gear back after use.
Regular upkeep gets easier once your garage is clean and clutter-free. Use this comprehensive checklist to reclaim your garage into a functional area you can feel proud of.


